
About this Photo to Vector tool
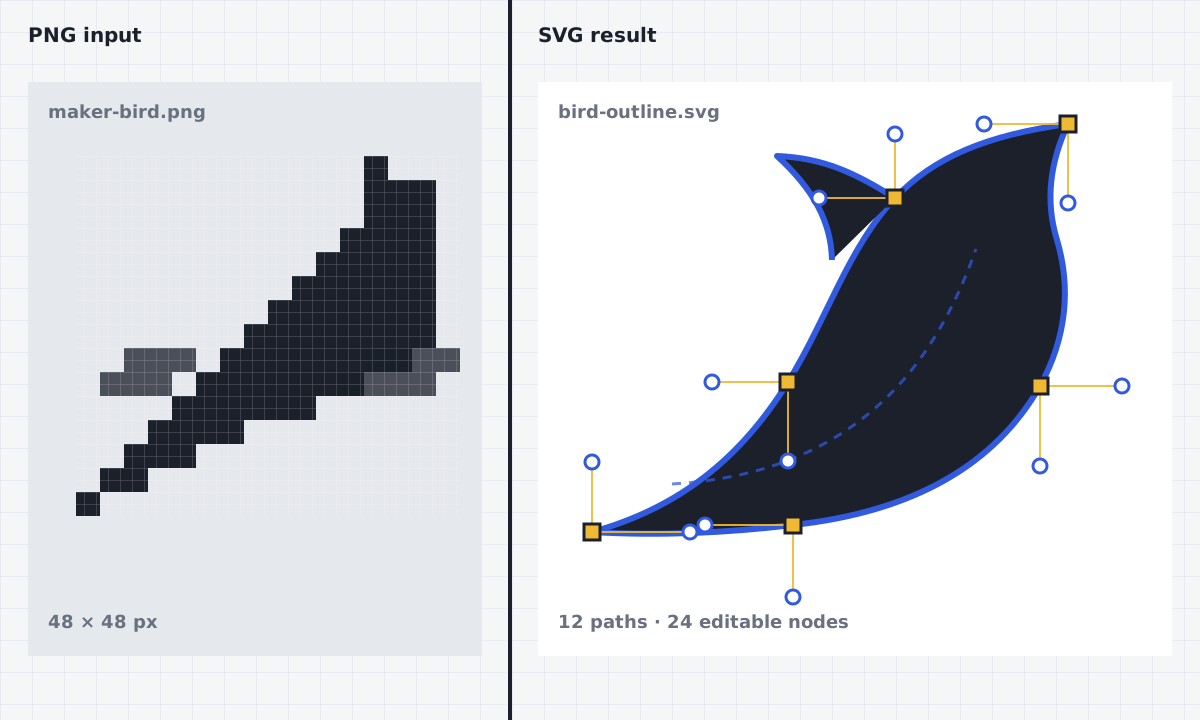
A photo contains grids of colored pixels, while a vector drawing describes shapes with points and curves. This photo to vector converter traces those visible regions into SVG geometry that can be resized and edited without the blocky edges of a bitmap. I built the workflow for practical artwork preparation: choose a picture, inspect the result, make a small path edit if needed, then download the format that fits the next application.
The photo preset starts with VTracer settings intended for images that contain several colors and soft detail. Processing happens locally in the browser, so the original file is not sent to an SVGPix server. A photo to vector result is still an interpretation, not a reconstruction of hidden detail. Clear lighting, a distinct subject, and a background that differs from the subject usually create more useful regions than a dark, compressed, or visually crowded source.
How it works
- 01
Choose a clear photo
Upload a PNG, JPG, or WebP file. Crop unnecessary background before starting when you want the trace to concentrate on one subject. The local preview lets you confirm that you selected the intended file.
- 02
Run the photo trace
The default photo preset groups related colors and builds smooth paths around them. For a bolder result, compare the logo or silhouette preset. Line art remains visibly disabled until that separate workflow is implemented.
- 03
Inspect and edit paths
Zoom in on the vector preview and open the editor for corrections. Look for tiny islands, awkward corners, and open paths. A photo to vector conversion often benefits from removing detail that will not matter at the final size.
- 04
Set units and export
Choose millimeters or inches, review layers and the machining preset, then export SVG, DXF, or PDF. SVG is primary here because it preserves the editable vector structure for another design pass.
Practical use cases
Portrait silhouettes and keepsakes
A high-contrast side profile can become a simple outline for a plaque, paper cut, or personal engraving study. Simplify hair and background detail before fabrication, and always inspect narrow shapes that may be too fragile for the chosen material.
Product and packaging sketches
Turn a clean product photograph into editable regions for a diagram, label concept, or packaging draft. The photo to vector output is useful as a starting layer when manually refined artwork would otherwise begin with tracing by hand.
Workshop reference artwork
Makers can trace reference images before moving geometry into laser or CNC software. The generated paths are not machine instructions, so confirm dimensions, closed contours, tool clearance, and material-specific settings in the software that controls the machine.
Posters, stickers, and craft layouts
Flatten a photograph into a graphic style for a poster study, sticker outline, or layered craft layout. Fewer strong colors generally produce cleaner layers and make the final file easier to select, recolor, and rearrange.
Browser-local processing and source privacy
The selected image is decoded and traced by code running on your device. SVGPix does not need to upload the source photo for this photo to vector conversion. The font or converter assets required by a tool may load from this site, but the personal image stays in the browser tab. As with any important source file, keep your own original and close the tab when the work is complete.
Paths, layers, units, and downstream software
SVG stores scalable curves and color regions. DXF is intended for exchanging geometry with CAD and workshop applications, while PDF is convenient for review and print-oriented handoff. Millimeters and inches describe the intended physical unit; they do not calibrate a cutter. Check the imported size and joins in the destination application because software can interpret page boxes and unsupported SVG effects differently.
Photo to Vector FAQ
- How does photo to vector conversion work?
- The browser analyzes neighboring pixel colors, groups them into regions, and draws SVG paths around those regions. It does not recover an original drawing from the photo. The result depends on contrast, source resolution, compression, and the amount of visible detail.
- Does the photo leave my device?
- No source upload is required for this tool. Tracing and export run locally in the browser. This makes the workflow useful for private drafts, but you should still use a trusted device and keep your own backup of the original.
- Why does my vector contain too many shapes?
- Busy backgrounds, texture, shadows, and camera noise create additional color regions. Crop the image, improve contrast, or try a simpler preset. After conversion, use the editor to remove shapes that do not contribute at the intended output size.
- Can I use the output with a laser or CNC machine?
- You can export geometry for import into compatible design software, including DXF. The file is not ready-made machine code. Confirm scale, path closure, kerf or tool compensation, cut order, feeds, speeds, and safe machine settings in your normal fabrication workflow.